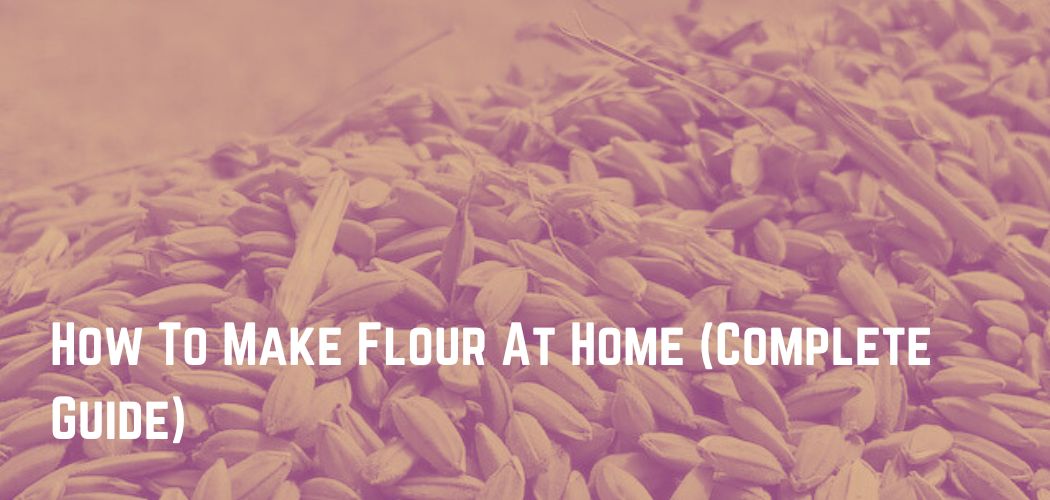
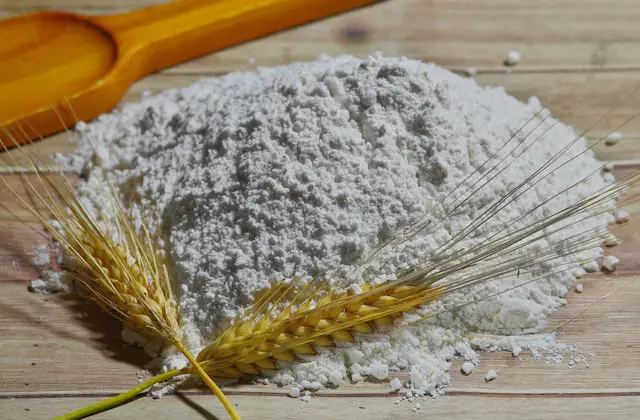
Flour is a staple ingredient used in countless recipes around the world. Whether it’s baking bread, making pasta, or creating cakes, flour is a versatile ingredient that is essential in any kitchen.
While it’s easy to buy flour from your local grocery store, making your own flour at home can be a fun and rewarding experience. In this complete guide, we’ll take a look at how to make flour at home.
Contents
- 0.1 Step 1: Choose Your Grains
- 0.2 Step 2: Clean And Prepare Your Grains
- 0.3 Step 3: Grind Your Grains
- 0.4 Step 4: Sift Your Flour
- 0.5 Step 5: Store Your Flour
- 1 Health Benefits Of Making Flour At Home
- 2 What’s The Best Way To Store It
- 3 Pros And Cons Of Making Flour At Home
- 4 Wheat Berries And Its Types
- 5 Alternatives To Use For Grinding Purposes
- 6 Things To Be Aware Of When Using Freshly Milled Flour
- 7 Conclusion
Step 1: Choose Your Grains
The first step in making flour at home is choosing the grains you want to use. Some common grains used for flour include wheat, rice, oats, corn, and barley.
You can choose to use one type of grain or mix several grains together to create a unique blend. When selecting your grains, make sure they are clean and free from any debris or insects.
Step 2: Clean And Prepare Your Grains
Once you’ve chosen your grains, it’s time to clean and prepare them. Start by rinsing your grains in cold water to remove any dirt or debris.
Next, spread them out on a clean towel or baking sheet and let them dry completely. Once your grains are dry, you can remove any remaining hulls or debris by hand or using a sieve.
Step 3: Grind Your Grains
The next step in making flour at home is grinding your grains. You can use a variety of tools to grind your grains, including a mortar and pestle, a food processor, or a flour mill.
If you’re using a food processor or flour mill, follow the manufacturer’s instructions to grind your grains into flour. If you’re using a mortar and pestle, start by crushing your grains into small pieces before grinding them into flour.
Step 4: Sift Your Flour
After you’ve ground your grains into flour, it’s important to sift your flour to remove any large particles or debris. You can use a fine-mesh sieve or a flour sifter to sift your flour. Simply pour your flour through the sieve or sifter, and discard any remaining debris.
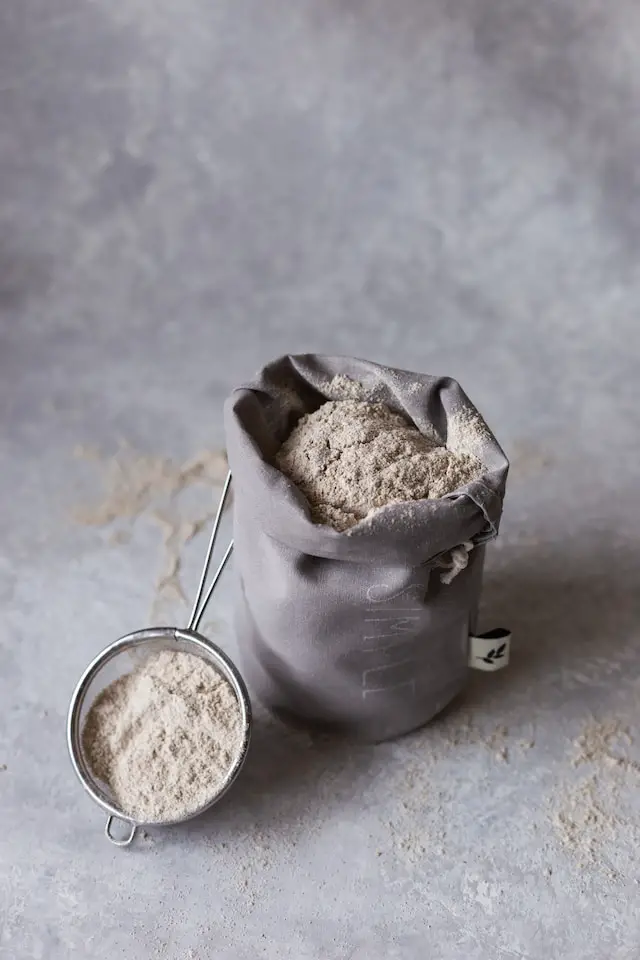
Step 5: Store Your Flour
Once you’ve made your flour, it’s important to store it properly to keep it fresh. Store your flour in an airtight container in a cool, dry place, away from direct sunlight. Flour can spoil quickly if it’s exposed to moisture or heat, so make sure to store it properly.
Making your own flour at home can be a fun and rewarding experience. With a few simple steps, you can turn grains into fresh, homemade flour that can be used in a variety of recipes.
Whether you’re a seasoned baker or a beginner in the kitchen, making your own flour is a great way to experiment with different grains and create unique blends of flour that are tailored to your tastes.
Health Benefits Of Making Flour At Home
Making flour at home can have several health benefits. Here are some of the most significant ones:
- Fresher and more nutrient-dense flour: When you make flour at home, you can ensure that it is fresh and free from any additives or preservatives. Freshly ground flour contains more nutrients, including fiber, vitamins, and minerals, than store-bought flour.
- Reduced exposure to harmful chemicals: Store-bought flour often contains pesticides and other harmful chemicals that can be harmful to your health. By making your own flour at home, you can reduce your exposure to these chemicals and ensure that your flour is made from organic, non-GMO grains.
- More control over the grinding process: When you make flour at home, you have more control over the grinding process, which can affect the texture and consistency of the flour. You can also experiment with different grain blends to create unique flavors and textures.
- Gluten-free options: For those who are gluten-intolerant or have celiac disease, making flour at home can be a great option. You can choose to use gluten-free grains such as rice, quinoa, or buckwheat to make your flour.
- Cost-effective: Buying flour can be expensive, especially if you prefer organic or specialty flours. Making your own flour at home can be a cost-effective option, as you can buy grains in bulk and grind them as needed.
Overall, making flour at home can be a great way to ensure that you are consuming fresh, nutrient-dense flour that is free from harmful chemicals.
It can also provide you with more control over the grinding process, allow you to experiment with different grain blends, and save you money in the long run.
What’s The Best Way To Store It
Storing flour properly is important to ensure that it stays fresh and safe for consumption. Here are some tips on how to safely store flour at home:
- Use airtight containers: When storing flour, it’s important to use airtight containers to prevent moisture and air from getting in. This can cause the flour to spoil or become rancid. You can use glass jars, plastic containers with tight-fitting lids, or food-grade buckets with tight-fitting lids.
- Store in a cool, dry place: Flour should be stored in a cool, dry place away from direct sunlight. Heat and moisture can cause flour to spoil or become infested with insects. The ideal temperature for storing flour is between 50°F and 70°F (10°C and 21°C).
- Label containers with the date: To keep track of how long you’ve had the flour, it’s a good idea to label the container with the date you purchased or ground the flour. This will help you know when it’s time to use the flour or if it has gone bad.
- Store away from strong odors: Flour can absorb strong odors from other foods, so it’s important to store it away from foods with strong odors, such as spices or onions. This can affect the flavor of the flour and make it unpleasant to use.
- Use within the expiration date: While flour can last for a long time when stored properly, it does have an expiration date. Make sure to use the flour within the expiration date to ensure that it’s still safe to consume.
By following these tips, you can ensure that your flour stays fresh and safe for consumption. Storing flour properly can help you avoid waste, save money, and ensure that you always have fresh flour on hand when you need it.
Pros And Cons Of Making Flour At Home
The following are some pros and cons of making flour at home.
Pros
- Freshness: Homemade flour is much fresher than store-bought flour, which can sit on the shelves for months before being sold.
- Nutritional value: Homemade flour retains more of the nutrients found in the grain, including fiber, vitamins, and minerals.
- Customization: You can customize the flour to your liking by choosing the type of grain and the coarseness of the grind.
- Control: You have complete control over the quality of the flour, and you can ensure that it is free from any additives or contaminants.
Cons
- Time-consuming: Making flour at home can be a time-consuming process, especially if you do not have the right equipment.
- Equipment: You need a grain mill or a food processor to make flour at home, which can be expensive to purchase.
- Messy: Making flour can be a messy process, and it can create a lot of dust and debris.
- Shelf life: Homemade flour has a shorter shelf life than store-bought flour, which means that it needs to be used more quickly.
- Grain quality: The quality of the grain you use to make flour can affect the quality of the flour, and not all grains are suitable for making flour.
Wheat Berries And Its Types
Wheat berries are the whole, unprocessed kernels of wheat, including the bran, germ, and endosperm. They are high in fiber, protein, vitamins, and minerals, making them a healthy addition to your diet. Here are some common types of wheat berries:
- Hard Red Wheat Berries: This is the most common type of wheat berry, known for its rich, nutty flavor and high protein content. It is often used to make bread, pasta, and cereal.
- Soft White Wheat Berries: This type of wheat berry has a lower protein content than hard red wheat berries and a milder flavor. It is often used to make pastries, cakes, and crackers.
- Durum Wheat Berries: Durum wheat berries are a hard, high-protein wheat that is often used to make pasta, couscous, and bulgur.
- Spelt Wheat Berries: Spelt is an ancient variety of wheat that has a nutty flavor and a high protein content. It is often used to make bread, pasta, and cereal.
- Kamut Wheat Berries: Kamut is an ancient grain that is similar to wheat but has a higher protein content and a nutty, buttery flavor. It is often used to make pasta, bread, and cereal.
- Einkorn Wheat Berries: Einkorn is the oldest known variety of wheat, with a nutty flavor and high protein content. It is often used to make bread and pasta.
Alternatives To Use For Grinding Purposes
There are several alternatives to wheat berries that can be ground to make flour, depending on your dietary needs and preferences. Here are some common alternatives:
- Rice: Rice can be ground to make a variety of flours, including white rice flour, brown rice flour, and sweet rice flour. It is often used as a gluten-free substitute for wheat flour.
- Oats: Oats can be ground to make oat flour, which is often used in gluten-free baking. It has a slightly sweet, nutty flavor and is high in fiber.
- Buckwheat: Buckwheat is a gluten-free grain that can be ground to make buckwheat flour. It has a slightly nutty flavor and is often used in pancakes, waffles, and noodles.
- Almonds: Almonds can be ground to make almond flour, which is often used as a gluten-free substitute for wheat flour. It has a slightly sweet, nutty flavor and is high in protein and healthy fats.
- Coconut: Coconut can be ground to make coconut flour, which is often used in gluten-free baking. It has a slightly sweet, coconut flavor and is high in fiber.
- Quinoa: Quinoa is a gluten-free grain that can be ground to make quinoa flour. It has a slightly nutty flavor and is often used in bread, pancakes, and muffins.
Things To Be Aware Of When Using Freshly Milled Flour
When using freshly milled flour, there are some things to be aware of to ensure that your baked goods turn out well:

- Absorption: Freshly milled flour can absorb more liquid than store-bought flour. You may need to adjust your recipe and add more liquid to achieve the right consistency.
- Texture: Freshly milled flour can have a coarser texture than store-bought flour. This can affect the texture of your baked goods, so you may need to adjust your recipe or use a finer grind.
- Flavor: Freshly milled flour can have a stronger flavor than store-bought flour. This can be a good thing if you want to add more flavor to your baked goods, but it can also be overpowering if not used in the right amounts.
- Gluten content: Freshly milled flour can have a higher gluten content than store-bought flour. This can affect the texture of your baked goods and make them denser. If you are using freshly milled flour in a recipe that requires a specific gluten content, you may need to adjust the recipe accordingly.
Conclusion
Milling your own flour can be a rewarding and healthy experience. Whether you are looking for an alternative to store-bought flour or want to experiment with new grains, there are many options available.
However, it is important to be aware of the potential challenges and adjustments that may be necessary when using freshly milled flour, such as absorption, shelf life, texture, flavor, and gluten content.
With a little experimentation and knowledge, you can achieve great results and enjoy the benefits of using freshly milled flour in your baking and cooking.